ABOUT ZONGHENG
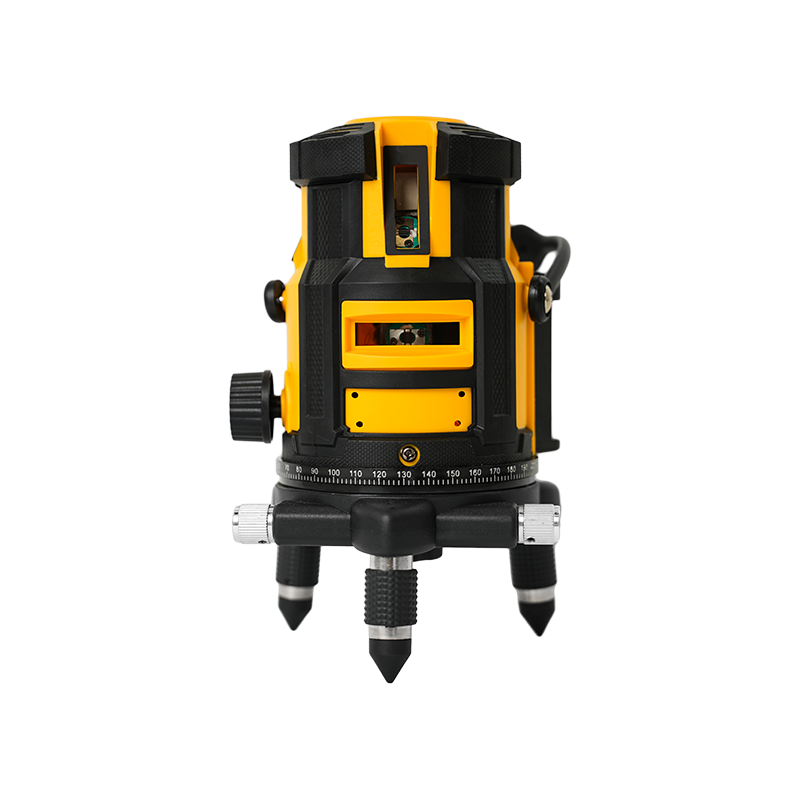
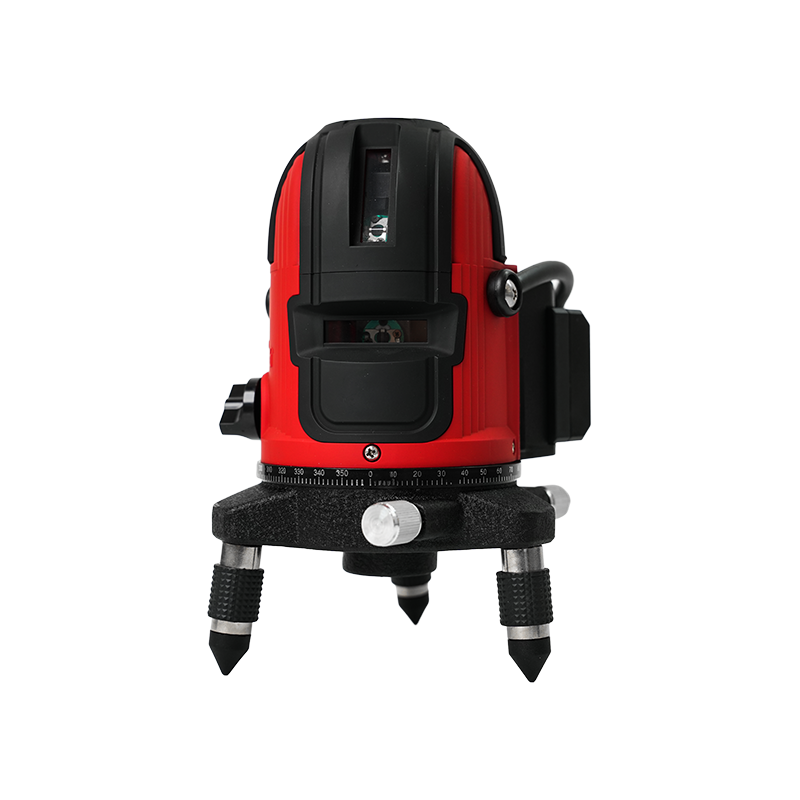
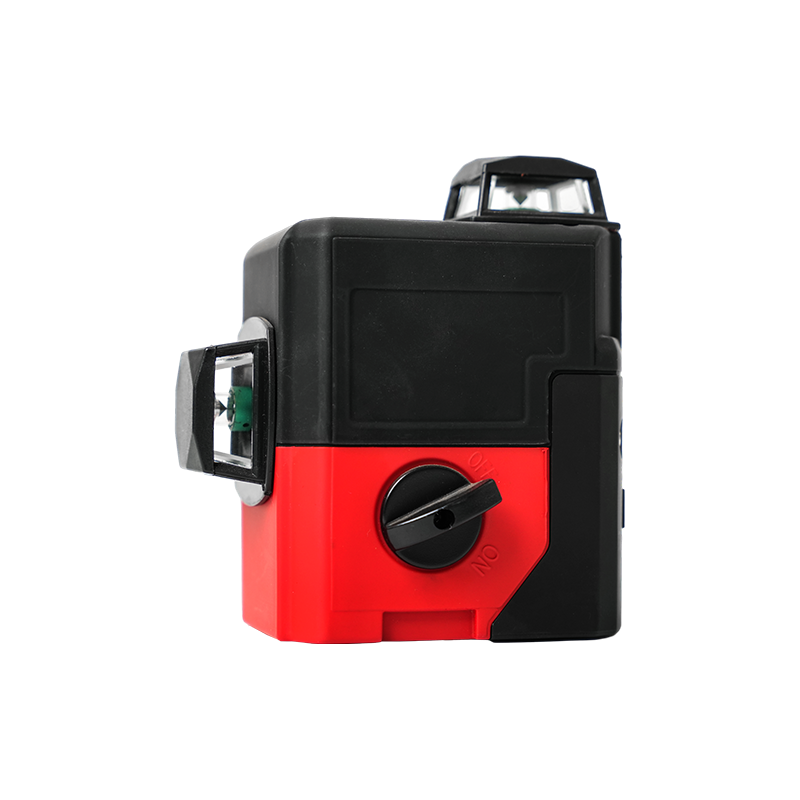
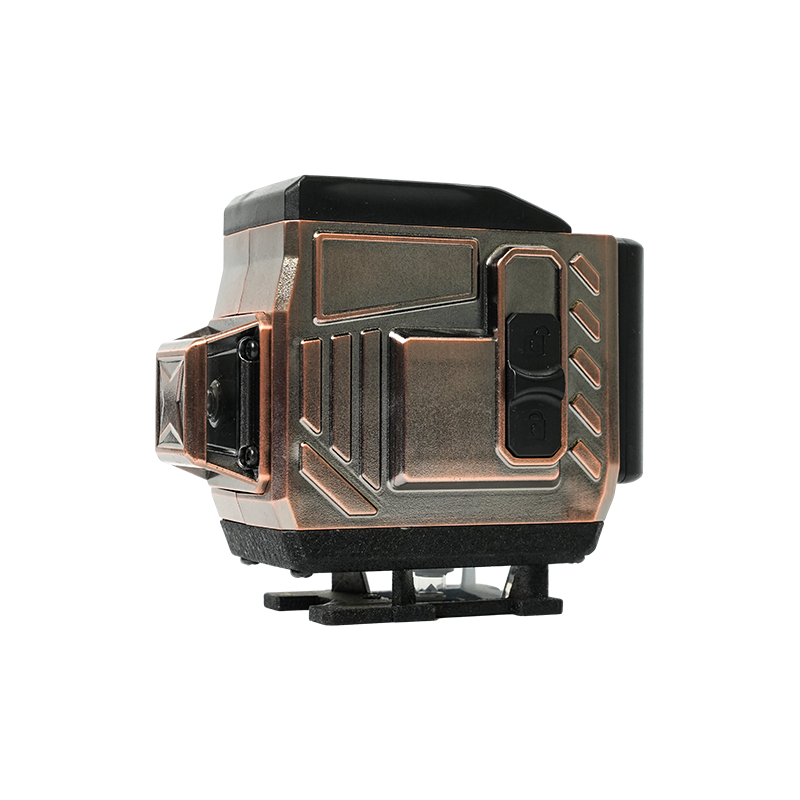
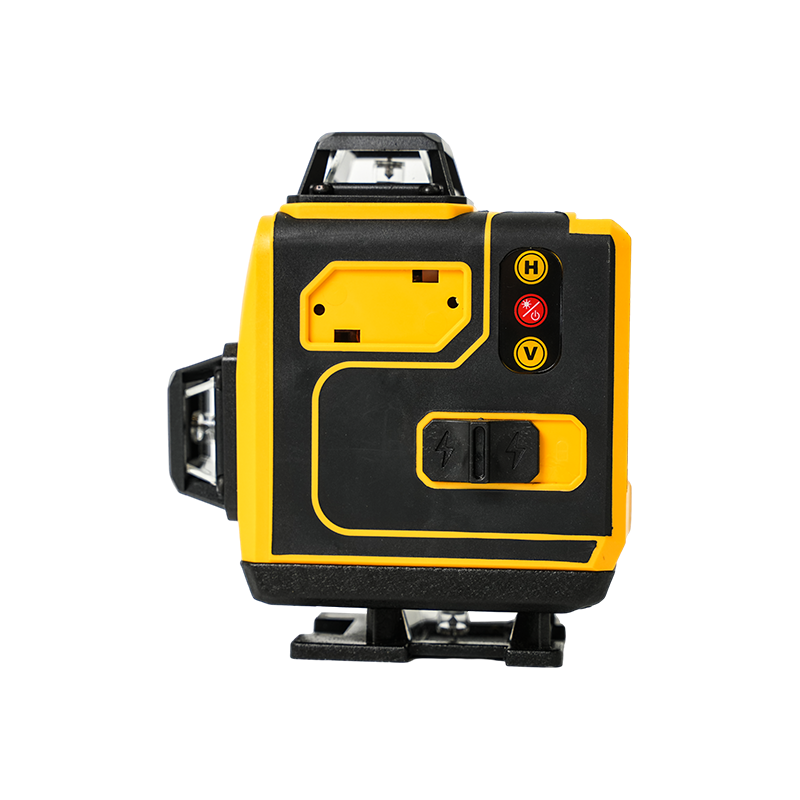
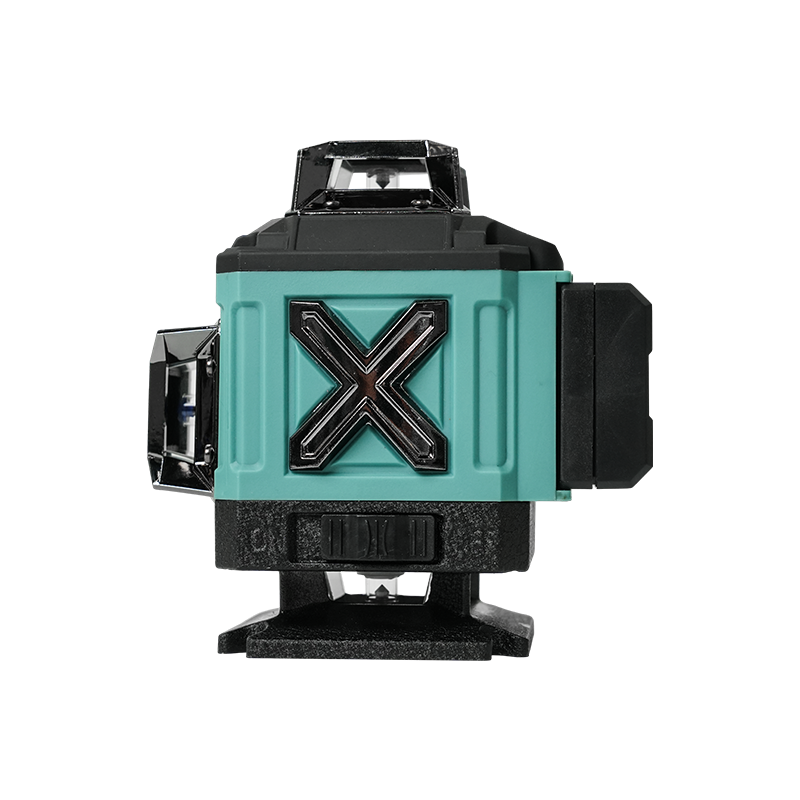
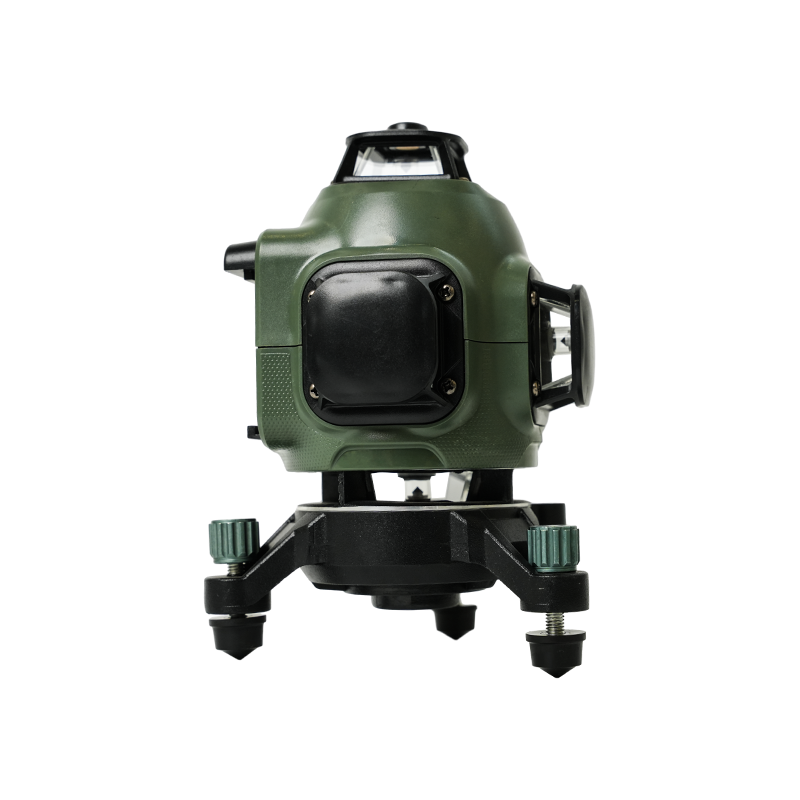
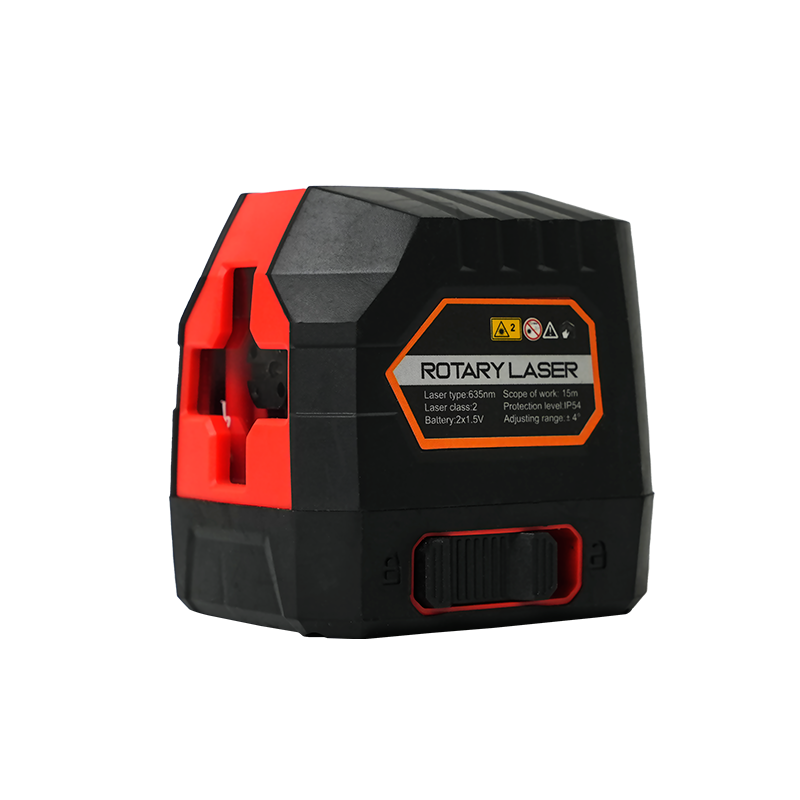
China Laser Level Manufacturers and Wholesale Laser Level 360 Suppliers
. The company was founded in 2010. The company introduced high-end laser technology and has a group of innovative and enterprising R&D backbones and a professional and efficient manufacturing team.
-
 0+
0+
Industry development years
-
 0㎡+
0㎡+
Plant area
-
 0+
0+
Annual production capacity
-
 0+
0+
Technical staff

PROFESSIONAL QUALITY, PRECISE POSITIONING, INNOVATIVE TECHNOLOGY, EFFICIENT AND CONVENIENT.
We’re a reliable partner that shapes our expertise into success for your project.
Read more >-
Industry Applications
Building and Construction
Laser levels are often used in construction to determine the horizontal and vertical lines of walls, floors, ceilings, etc. to ensure the accuracy of the building structure.
-
Industry Applications
Indoor decorations
In the process of home decoration, interior design and furniture installation, the laser level can be used to determine the horizontal position of furniture, the vertical position of decorations on the wall, etc., providing an accurate reference for decorative layout.
-
Industry Applications
Civil Engineering
In civil engineering projects such as road construction, bridge construction, and ramp design, laser levels can be used to measure the elevation and level of the ground to ensure the flatness and slope of the project.
-
Industry Applications
Geographical Surveying and Mapping
Laser levels are widely used in the field of geographical surveying and mapping to measure ground elevation, horizontal and vertical lines, and generate topographic maps, engineering drawings, etc.
-
Industry Applications
Agriculture
In the agricultural field, laser levels can be used to measure the level and slope of farmland to help farmers design rational irrigation and drainage systems.
-
Industry Applications
Automotive repair and calibration
Laser levels can be used in car repair and calibration processes, such as checking the balance and alignment of wheels to ensure the safety and stability of vehicle driving.
From The Blog
Provide you with the latest enterprise and industry news
-
How to calibrate the 4D green crosshair laser projector to ensure its projection accuracy?
1、 Preparation stageSelect calibration environment:Choosing a suitable calibration environment is crucial before calibrating the 4D green crosshair laser projector. The ideal calibration environment should be a relatively flat and vibration free indoor space. This is because vibration may cause small deviations in the laser line, thereby affecting the accuracy of calibration. In addition, indoor environments should be free from strong light source interference, as strong light sources may interfere with the projection of laser lines, making them blurry or unstable. To ensure the accuracy of calibration, the calibration environment should also maintain appropriate temperature and humidity, as extreme temperature or humidity changes may affect the performance of the laser projector. When choosing a calibration environment, it is recommended to consider using a professional calibration room or laboratory to ensure that all conditions are strictly controlled.Prepare calibration tools:In addition to choosing a suitable calibration environment, preparing necessary calibration tools is also crucial to ensuring successful calibration. Firstly, a precise level or spirit level is needed to check if the bottom of the laser projector is level. The accuracy of the level or spirit level should be high enough to ensure accurate detection of any slight tilt. Secondly, a large-sized, flat paper or wall is required as the target for laser line projection. This goal should be large enough to clearly see the crosshairs projected by the laser line. If possible, calibration markers such as pens and tape can also be used to mark the position of the laser line on paper or walls, making calibration easier. 2、 Preliminary calibrationCheck the status of the laser projector:Before conducting preliminary calibration, it is necessary to ensure that the laser projector has been correctly installed and powered on. After turning on the laser projector, check if its working status is normal. This includes checking if the laser line is clear, stable, and if there are any abnormal sounds or vibrations. If the laser line is unclear or unstable, it may be due to incorrect parameter settings such as focal length, spot size, or tilt angle of the laser projector. In this case, the laser line should be optimized by adjusting these parameters first. The subsequent calibration steps can only be carried out when the working state of the laser projector is normal.Adjust the levelness:Adjusting the levelness of the laser projector is one of the important steps in preliminary calibration. Use a spirit level or spirit level to check if the bottom of the laser projector is level. If it is not horizontal, it is necessary to adjust the adjustment screw at the bottom of the laser projector to achieve a horizontal state. The adjustment screws are usually located at the bottom or side of the laser projector, and can be rotated to adjust the tilt angle of the laser projector. During the adjustment process, caution should be taken to avoid excessive rotation that may cause the laser projector to tilt excessively. At the same time, it is also necessary to pay attention to maintaining the stability of the laser projector to avoid accidents during the adjustment process.Adjust the position of the laser line:Adjusting the position of the laser line is another important step in preliminary calibration. The position and angle of the laser line can be adjusted through the adjustment button or knob on the laser projector. During the adjustment process, it is necessary to ensure that the laser line projects a clear and centered crosshair on the paper or wall, and that the two lines intersect vertically. This can be achieved by observing the projection of laser lines on paper or walls. If the crosshair is not centered or two lines do not intersect perpendicularly, it may be due to incorrect tilt or rotation angles of the laser projector. In this case, it is necessary to adjust the adjustment button or knob on the laser projector to achieve the optimal position of the crosshair. During the adjustment process, it is necessary to patiently and meticulously fine tune to ensure that the position and angle of the laser line reach the optimal state. 3、 Fine calibrationIntersection point of calibration crosshair:The first step in fine calibration is to calibrate the intersection points of the crosshairs. After marking the intersection of the crosshairs projected by the laser line on paper or wall, it is necessary to use a precision measuring tool (such as a vernier caliper) to check whether the intersection position is accurate. If there is a deviation in the intersection position, it may be due to incorrect parameter settings such as the focal length, spot size, or tilt angle of the laser projector. In this case, it is necessary to fine tune these parameters to achieve accurate intersection positions. The fine-tuning process requires patience and meticulousness, as even small adjustments may have a significant impact on the intersection position. During the fine-tuning process, the changes in the intersection position can be continuously observed and adjusted as needed. When the intersection point position reaches accuracy, it can be considered that the crosshair intersection point of the laser projector has been calibrated.Calibrate laser line length and width:Calibrating the length and width of the laser line is another important step in fine calibration. Use measuring tools to check if the length and width of the laser line on the paper or wall are consistent. If there is inconsistency, it may be due to incorrect settings of the focal length or spot size adjustment knob of the laser projector. In this case, it is necessary to adjust these knobs to achieve consistency in the length and width of the laser line. During the adjustment process, attention should be paid to maintaining the clarity and stability of the laser line to avoid negative effects on the calibration results. When the length and width of the laser line are consistent, it can be considered that the laser projector's laser line length and width have been calibrated.Check the verticality of the laser line:Checking the verticality of the laser line is the final step in fine calibration. Use perpendicularity inspection tools (such as perpendicularity meters) to check if the laser line is vertical. If it is not vertical, it may be due to incorrect tilt or rotation angle of the laser projector. In this case, it is necessary to adjust the tilt angle or rotation angle of the laser projector to make the laser line reach a vertical state. During the adjustment process, attention should be paid to maintaining the clarity and stability of the laser line to avoid negative effects on the calibration results. When the laser line reaches a vertical state, it can be considered that the verticality of the laser projector's laser line has been calibrated. 4、 Complete calibrationFixed adjustment screw:After completing all calibration steps, it is necessary to ensure that all adjustment screws are securely fastened. This is to prevent loosening during use, which may cause deviation or instability of the laser line. When fixing adjustment screws, it is necessary to use appropriate tools (such as screwdrivers) to tighten them. During the tightening process, be careful not to apply excessive force to avoid damaging the adjusting screws or other components of the laser projector. At the same time, it is necessary to check whether all adjustment screws have been tightened in place to ensure the stability of the laser projector.Perform final inspection:After completing the calibration and fixing the adjustment screws, a final inspection is required to ensure that the projection accuracy of the laser projector reaches its optimal state. Firstly, turn on the laser projector again and observe if its working status is normal. Then, project the laser line onto the paper or wall and check if the crosshairs are clear, accurate, and stable. If everything is normal, it can be considered that the calibration of the laser projector has been completed and can be put into use. If the problem still exists, the calibration steps need to be repeated until the usage requirements are met.Record calibration results:To ensure the long-term stability and accuracy of the laser projector, it is recommended to record the key data and steps during the calibration process. This includes adjusting the initial and final positions of the screws, the initial and final states of the laser line, the measuring tools and methods used during the calibration process, etc. Recording these data can help with rechecking or recalibration when needed, and ensure that the accuracy of the laser projector is always maintained at its optimal state. In addition, the calibration results can be recorded in the user manual or relevant documents of the laser projector for future reference and use.
Read More >>> 2024-10-28 -
How to ensure the lifting stability of Laser Line Projector Lifting Tripod?
1、 Tripod structure designMaterial selection:The selection of materials is crucial in ensuring the stability of the Laser Line Projector Lifting Tripod lifting process. Aluminum alloy and carbon fiber are preferred due to their high strength and lightweight properties. Aluminum alloy not only has good corrosion resistance and durability, but also can maintain the compactness of the structure while bearing a large weight. Carbon fiber is widely used in high-end tripods due to its higher strength to weight ratio and excellent fatigue resistance. The selection of these materials ensures that the tripod can remain stable in complex environments while reducing overall weight, making it easy to carry and operate. In addition, all materials need to undergo precision machining and welding treatment to reduce structural defects such as cracks, pores, etc., thereby further improving the strength and stability of the tripod.Design of tripod legs:The design of tripod legs directly affects their lifting stability and adaptability. Each leg should have the function of adjustable length, and the height can be fine tuned through rotation or sliding mechanism to adapt to different terrains and height requirements. The design of the leg extension mechanism needs to balance durability and ease of use, ensuring that there will be no jamming or loosening during the lifting process. In addition, the bottom of the legs is usually equipped with anti slip foot pads made of wear-resistant and high friction materials, which can provide stable support on various surfaces and prevent the tripod from sliding on inclined or uneven surfaces. The design of foot pads also needs to consider ease of replacement for maintenance after wear and tear.Platform at the top of the tripod:The platform at the top of the tripod is the installation foundation of the laser line projector, and its design needs to balance stability and usability. The platform area should be large enough to provide sufficient support area to ensure that the laser line projector will not tilt due to unstable center of gravity after installation. The surface of the platform is usually treated with anti slip to increase friction with the bottom of the laser line projector and prevent it from sliding during use. In addition, the design of the platform also needs to consider the installation interface of the laser line projector, such as screw hole positions, quick installation plates, etc., in order to quickly and accurately install and disassemble. During the lifting process, the platform should be kept level to ensure the projection accuracy of the laser line projector. 2、 Design of lifting mechanismType of lifting mechanism:The Laser Line Projector Lifting Tripod has various types of lifting mechanisms, including manual screw lifting, electric lifting, and pneumatic lifting. The manual spiral lifting mechanism achieves lifting by rotating the handle. Although the operation is relatively laborious, it has the advantages of simple structure, easy maintenance, and low cost. The electric lifting mechanism is driven by a motor to achieve lifting, which has the advantages of fast lifting speed and easy operation, but the cost is relatively high. The air pressure lifting mechanism utilizes gas pressure to achieve lifting and lowering, which has the characteristics of smooth lifting and low noise, but the maintenance cost is relatively high. When selecting the type of lifting mechanism, comprehensive consideration should be given to factors such as application scenarios, budget, and frequency of use.Quality of lifting mechanism:The quality of the lifting mechanism is directly related to the lifting stability and service life of the Laser Line Projector Lifting Tripod. High quality lifting mechanisms should undergo rigorous testing and inspection to ensure they can withstand expected loads and maintain stable lifting speeds. During the lifting process, the lifting mechanism should avoid adverse phenomena such as jamming, shaking, or tilting to ensure the projection accuracy and stability of the laser line projector. In addition, the design of the lifting mechanism also needs to consider its durability and reliability to ensure that there will be no malfunctions or damages during long-term use.Lift locking mechanism:The lifting locking mechanism is the key to ensuring the stability of the Laser Line Projector Lifting Tripod lifting. During the lifting process, the locking mechanism should be able to firmly fix the lifting mechanism to prevent accidental lifting or sliding. The design of the locking mechanism needs to balance usability and reliability, ensuring that the lifting mechanism can be quickly and accurately locked when needed. In addition, the locking mechanism should also have self-locking function, which means that when the lifting mechanism is subjected to external impact or vibration, it can automatically lock to prevent the lifting mechanism from moving. When unlocking, the locking mechanism should be able to easily and smoothly release the lifting mechanism for lifting operations. 3、 Installation and DebuggingInstallation steps:When installing the Laser Line Projector Lifting Tripod, certain steps and precautions must be followed. Firstly, ensure that all components of the tripod are intact and undamaged, and if necessary, replace or repair them. Secondly, follow the steps in the manual to correctly install the tripod and lifting mechanism, ensuring that the connections between each component are firm and reliable. When installing the laser line projector, it is necessary to firmly fix it on the platform at the top of the tripod to ensure that it will not tilt due to unstable center of gravity during the lifting process. During the installation process, it is also necessary to pay attention to the projection direction and angle of the laser line projector to ensure that it can accurately project the required laser line.Debugging and Calibration:After installation, the Laser Line Projector Lifting Tripod needs to be debugged and calibrated. Firstly, use precision measuring tools to check the verticality and levelness of the tripod to ensure that it meets the requirements for use. If necessary, the verticality and levelness of the tripod legs can be corrected by adjusting their length or angle. Secondly, calibrate the laser line projector to ensure that the projected laser lines are accurate, clear, and stable. During the calibration process, it is necessary to adjust the focal length, angle, and brightness parameters of the laser line projector to achieve the best projection effect. During the debugging and calibration process, it is also important to maintain a clean and quiet working environment to avoid interference with the measurement results. 4、 Usage and maintenanceUsage environment:When using the Laser Line Projector Lifting Tripod, it is necessary to choose a stable, flat, and obstacle free ground. Avoid using tripods in severe weather conditions such as strong wind and rainstorm to prevent them from tilting or collapsing. It is also important to avoid exposing the tripod to extreme temperature or humidity conditions to prevent deformation or corrosion. During use, the stability of the tripod and lifting mechanism should be regularly checked to ensure that they can withstand the current load. If necessary, adjustments or reinforcements can be made.Load limit:When using the Laser Line Projector Lifting Tripod, it is necessary to strictly adhere to its load limits. Do not place heavy objects or equipment on the tripod to avoid exceeding its load-bearing capacity and causing tipping or damage. During use, attention should also be paid to the weight and center of gravity position of the laser line projector to ensure that it can be stably installed on the tripod. In addition, it is necessary to regularly check whether the connection between the tripod and the lifting mechanism is loose or damaged, and if necessary, repair or replace it in a timely manner.Maintenance and upkeep:Regular cleaning and lubrication of the Laser Line Projector Lifting Tripod is key to maintaining its stability and extending its lifespan. During the cleaning process, it is necessary to use soft fabrics and appropriate cleaning agents, and avoid using hard objects or corrosive cleaning agents to avoid scratching or corroding the surface of the tripod. During the lubrication process, specialized lubricants should be used to lubricate key parts such as the lifting mechanism and connecting parts to reduce friction and wear. In addition, it is necessary to regularly check whether the various components of the tripod are loose or damaged, and if necessary, repair or replace them in a timely manner. During storage, the tripod should be placed in a dry and ventilated place to avoid prolonged exposure to sunlight or humid environments.
Read More >>> 2024-10-21 -
How to calibrate Reticle Line Laser Level correctly to ensure accuracy?
1、 Prepare calibration tools and environmentIt is crucial to have the necessary calibration tools before preparing to calibrate the Reticle Line Laser Level. The standard light source or laser power meter calibrator is the core equipment in the calibration process, which can provide a laser beam of known power and wavelength to accurately measure the output performance of the laser marking instrument. These calibrators not only help users understand the emission power of the laser marking instrument, but also detect whether the wavelength of the laser beam meets expectations, which is crucial for ensuring the clarity and accuracy of the laser line.The selection of calibration environment cannot be ignored either. A clean area with stable, vibration free, and interference free light sources is an ideal choice for calibration. The fluctuations in temperature and humidity may affect the performance of the laser marking instrument. Therefore, before calibration, it is necessary to ensure that the ambient temperature and humidity are in a stable state to reduce the interference of external factors on the calibration results. At the same time, choosing an environment without interfering light sources can avoid interference from other light sources on the laser line, thereby improving the accuracy of calibration. 2、 Conduct preliminary inspectionBefore calibration, a preliminary inspection of the laser marking instrument is an important step to ensure a smooth calibration process. Firstly, check whether the appearance of the laser marking instrument is intact and undamaged, ensuring that there are no cracks, scratches, or other damages that may affect its performance. At the same time, check the status of the power supply and battery to ensure that they can supply power normally and avoid calibration failures caused by insufficient power.Observing the quality of the laser line is also an important part of the preliminary inspection. The clarity, uniformity, and stability of laser lines directly reflect the performance status of the laser marking instrument. If the laser line appears blurry, broken, or unstable, it is necessary to repair or replace the components of the laser marking instrument before calibration to ensure that it can emit clear and stable laser lines normally.Setting a reference plane is another crucial step in conducting preliminary inspections. The reference plane is a reference plane used to calibrate the direction of laser lines, which can be a horizontal or vertical plane. When setting the reference plane, precision measuring tools such as laser interferometers or precision rulers should be used to ensure the accuracy and stability of the reference plane. By setting a reference plane, it is more convenient to measure the straightness, parallelism, and perpendicularity of the laser line, thereby more accurately evaluating the performance of the laser marking instrument. 3、 Perform calibration stepsThe execution of calibration steps is the core step in calibrating the Reticle Line Laser Level. Firstly, connect the standard light source or laser power meter calibrator to the laser marking instrument to ensure good connection quality. During the connection process, attention should be paid to the alignment and fastening of the interface to avoid calibration errors caused by loose connections.Next, adjust the output power and wavelength of the calibration tool according to the specifications of the laser marking instrument. The output power of the calibration tool should match the calibration range of the laser marking instrument to ensure the accuracy of calibration. Meanwhile, adjusting the wavelength is also a necessary step, as laser beams of different wavelengths may have different effects on the calibration results. By adjusting the output power and wavelength of the calibration tool, it is possible to ensure that the calibration process matches the actual usage scenario of the laser marking instrument, thereby improving the practicality of calibration.In the measurement and recording process, start the laser marking instrument and make it emit laser lines. Then, use precision measuring tools to measure the straightness, parallelism, and perpendicularity of the laser line. During the measurement process, repeated measurements should be taken multiple times to improve accuracy, and the average value should be taken as the calibration result. Meanwhile, recording measurement results is also an essential step for subsequent analysis and evaluation of calibration effectiveness.After completing the measurement, compare the calibration results with the specifications of the laser marking instrument. If the calibration result does not meet the specification requirements, the laser marking instrument needs to be adjusted. During the adjustment process, the internal parameters of the laser marking instrument, such as focal length and angle, should be adjusted according to its adjustment mechanism to improve the calibration results. During the adjustment process, caution should be exercised to avoid performance degradation or damage caused by excessive adjustments. 4、 Verify the calibration effectAfter completing the adjustment, verifying the calibration effect is a key step to ensure successful calibration. Firstly, re measure the straightness, parallelism, and perpendicularity of the laser line to verify the calibration effect after adjustment. During the measurement process, the same measurement methods and tools as during the calibration process should be used to ensure the accuracy and comparability of the measurement results.In addition to measuring the geometric characteristics of the laser line, it is also necessary to check the quality of the laser line. Observe the brightness, uniformity, and stability of the laser line to ensure that it meets the requirements for use. If the laser line still appears blurry, broken, or unstable, further adjustment of the laser marking instrument or replacement of components may be necessary.When verifying the calibration effect, attention should also be paid to checking other performance indicators of the laser marking instrument, such as emission power, wavelength stability, etc. These performance indicators also have a significant impact on the accuracy and reliability of laser marking instruments. By comprehensively checking the performance indicators of the laser marking instrument, it can be ensured that it can meet the expected measurement and marking requirements in practical use. 5、 Recording and StorageRecording and storing calibration data is an important step in the calibration process. Firstly, record the measurement data, adjusted parameters, and calibration results in detail during the calibration process. When recording data, it is important to ensure the accuracy and completeness of the information for future reference and retrieval. At the same time, recording data also helps track the performance changes of the laser marking instrument, and timely detect and solve problems.Keeping calibration records in a safe location is also an essential step. Calibration records may contain sensitive information, such as the serial number and calibration date of the laser marking instrument, so they should be kept properly to avoid leakage to unauthorized personnel. At the same time, keeping calibration records also helps with subsequent maintenance and repair work, providing necessary reference information for technicians.When storing calibration records, a reliable data storage method should be selected, such as electronic documents or paper files. Electronic documents have the advantages of easy storage, retrieval, and backup, while paper documents have the characteristics of being less susceptible to tampering and loss. Choose the appropriate data storage method according to actual needs and ensure the security and reliability of the storage environment.
Read More >>> 2024-10-14
Contact Us
-

Email: [email protected]
-

Telephone: +86-513-83449118
-

Fax: +86-513-83449118
-

Phone: +86-18962839249

 English
 русский


